Sowing Mexipedium Seed
1. Introduction
Asymbiotic sowing is an artificial germination method for orchid seeds that does not rely on the natural symbiosis with mycorrhizal fungi. While orchid seeds have extremely low germination rates in nature, sterile culture on nutrient media enables controlled, successful germination.
This method is used by both professional laboratories and hobbyists to propagate rare or sensitive species. The cultivation of Mexipedium xerophyticum is considered quite challenging and is practiced by only a very small number of growers. It has also been reported that seed production alone is a challenge. We have not had this experience so far, although empty capsules are regularly observed.
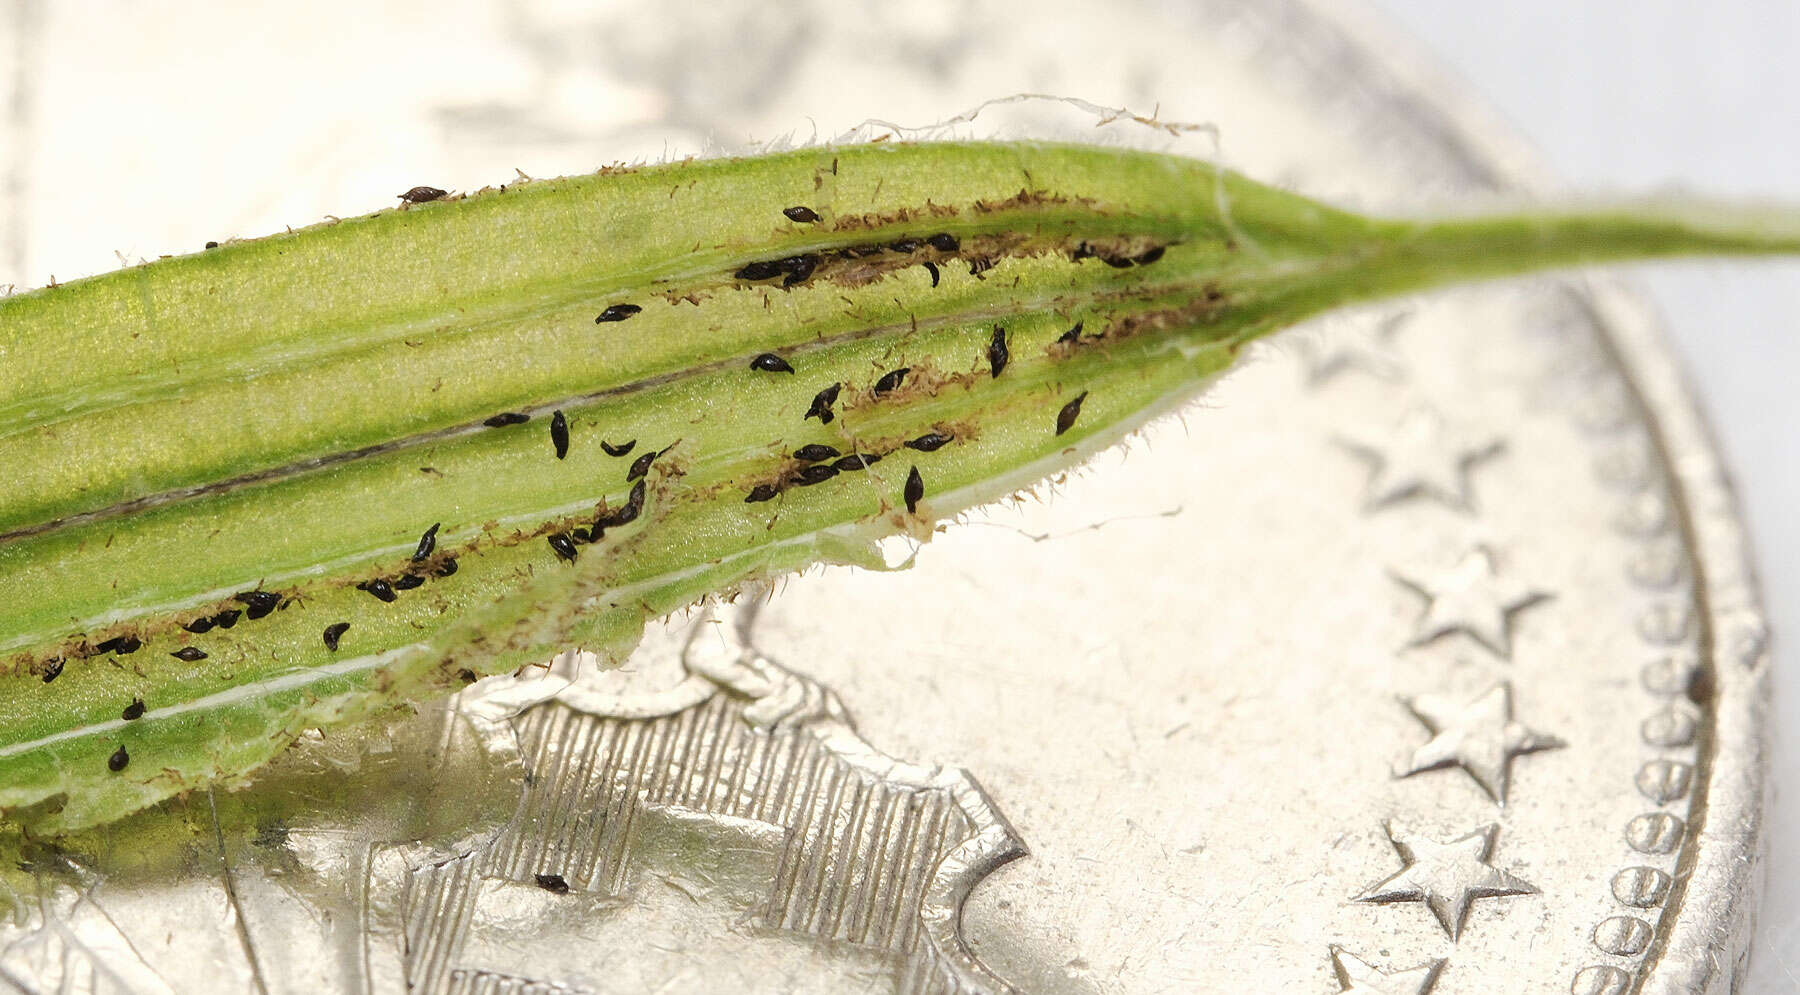
The process described here explains how to sow Mexipedium xerophyticum from a green, unopened capsule. Whenever possible, this method is preferable to sowing seeds from a dry, opened capsule.
2. Materials Needed
Before you begin, make sure you have all the materials ready.
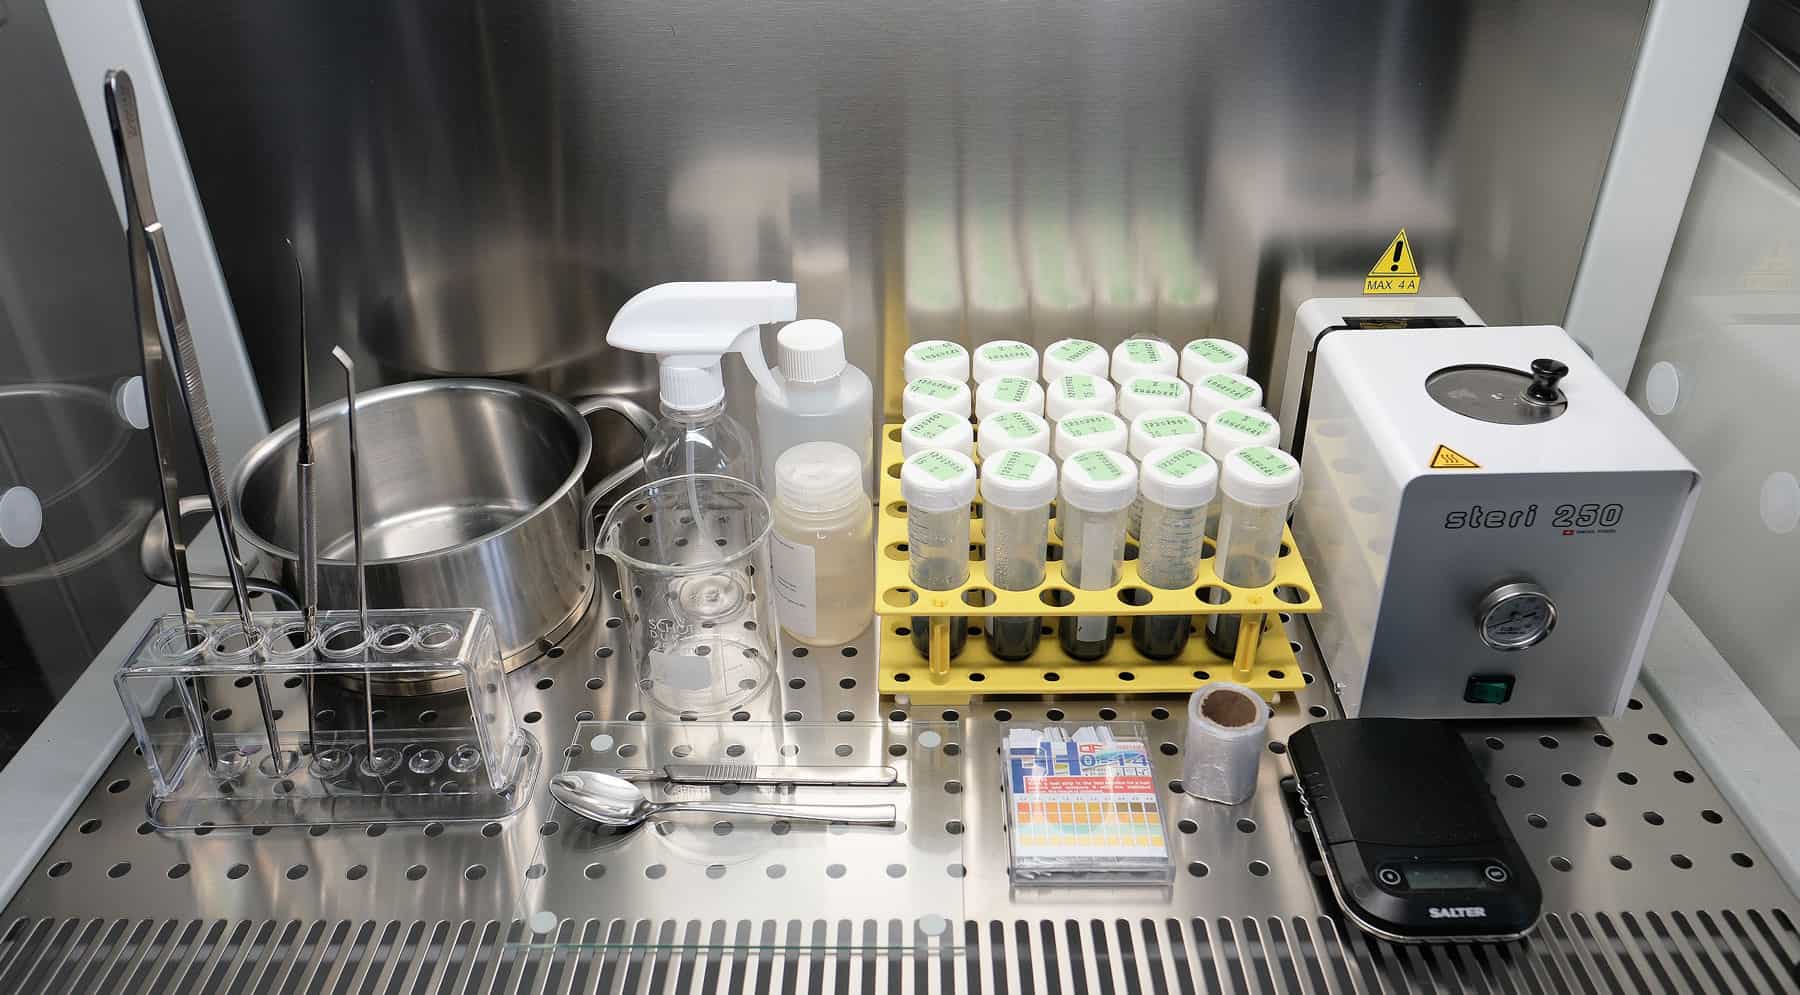
2.1. Equipment
- Sterile workbench with a HEPA filter (alternatives are available for hobbyists)
- Autoclave or pressure cooker for sterilization
- Glass jars, screw-top containers, or culture bottles (e.g., baby food jars)
- Tweezers, scalpel, spoon, and spatula
- Spray bottle containing alcohol (70% ethanol or isopropanol)
- Precision scale
- pH meter or pH test strips (the former is definitely preferable)
- Measuring cup
- A pot and stove for preparing the culture medium
- Glass bead or infrared sterilizer
- Laboratory tool rack
- Roll of plastic film for sealing the culture containers
2.2. Chemicals
The following chemicals are needed during the sowing process:
- Disinfectant for surface sterilization of the seed capsule (e.g., 10% household bleach with a drop of dish soap)
- 70% ethyl alcohol (ethanol) for surface disinfection
- NaOH (caustic soda) to raise the pH level
- HCl (hydrochloric acid) for lowering the pH
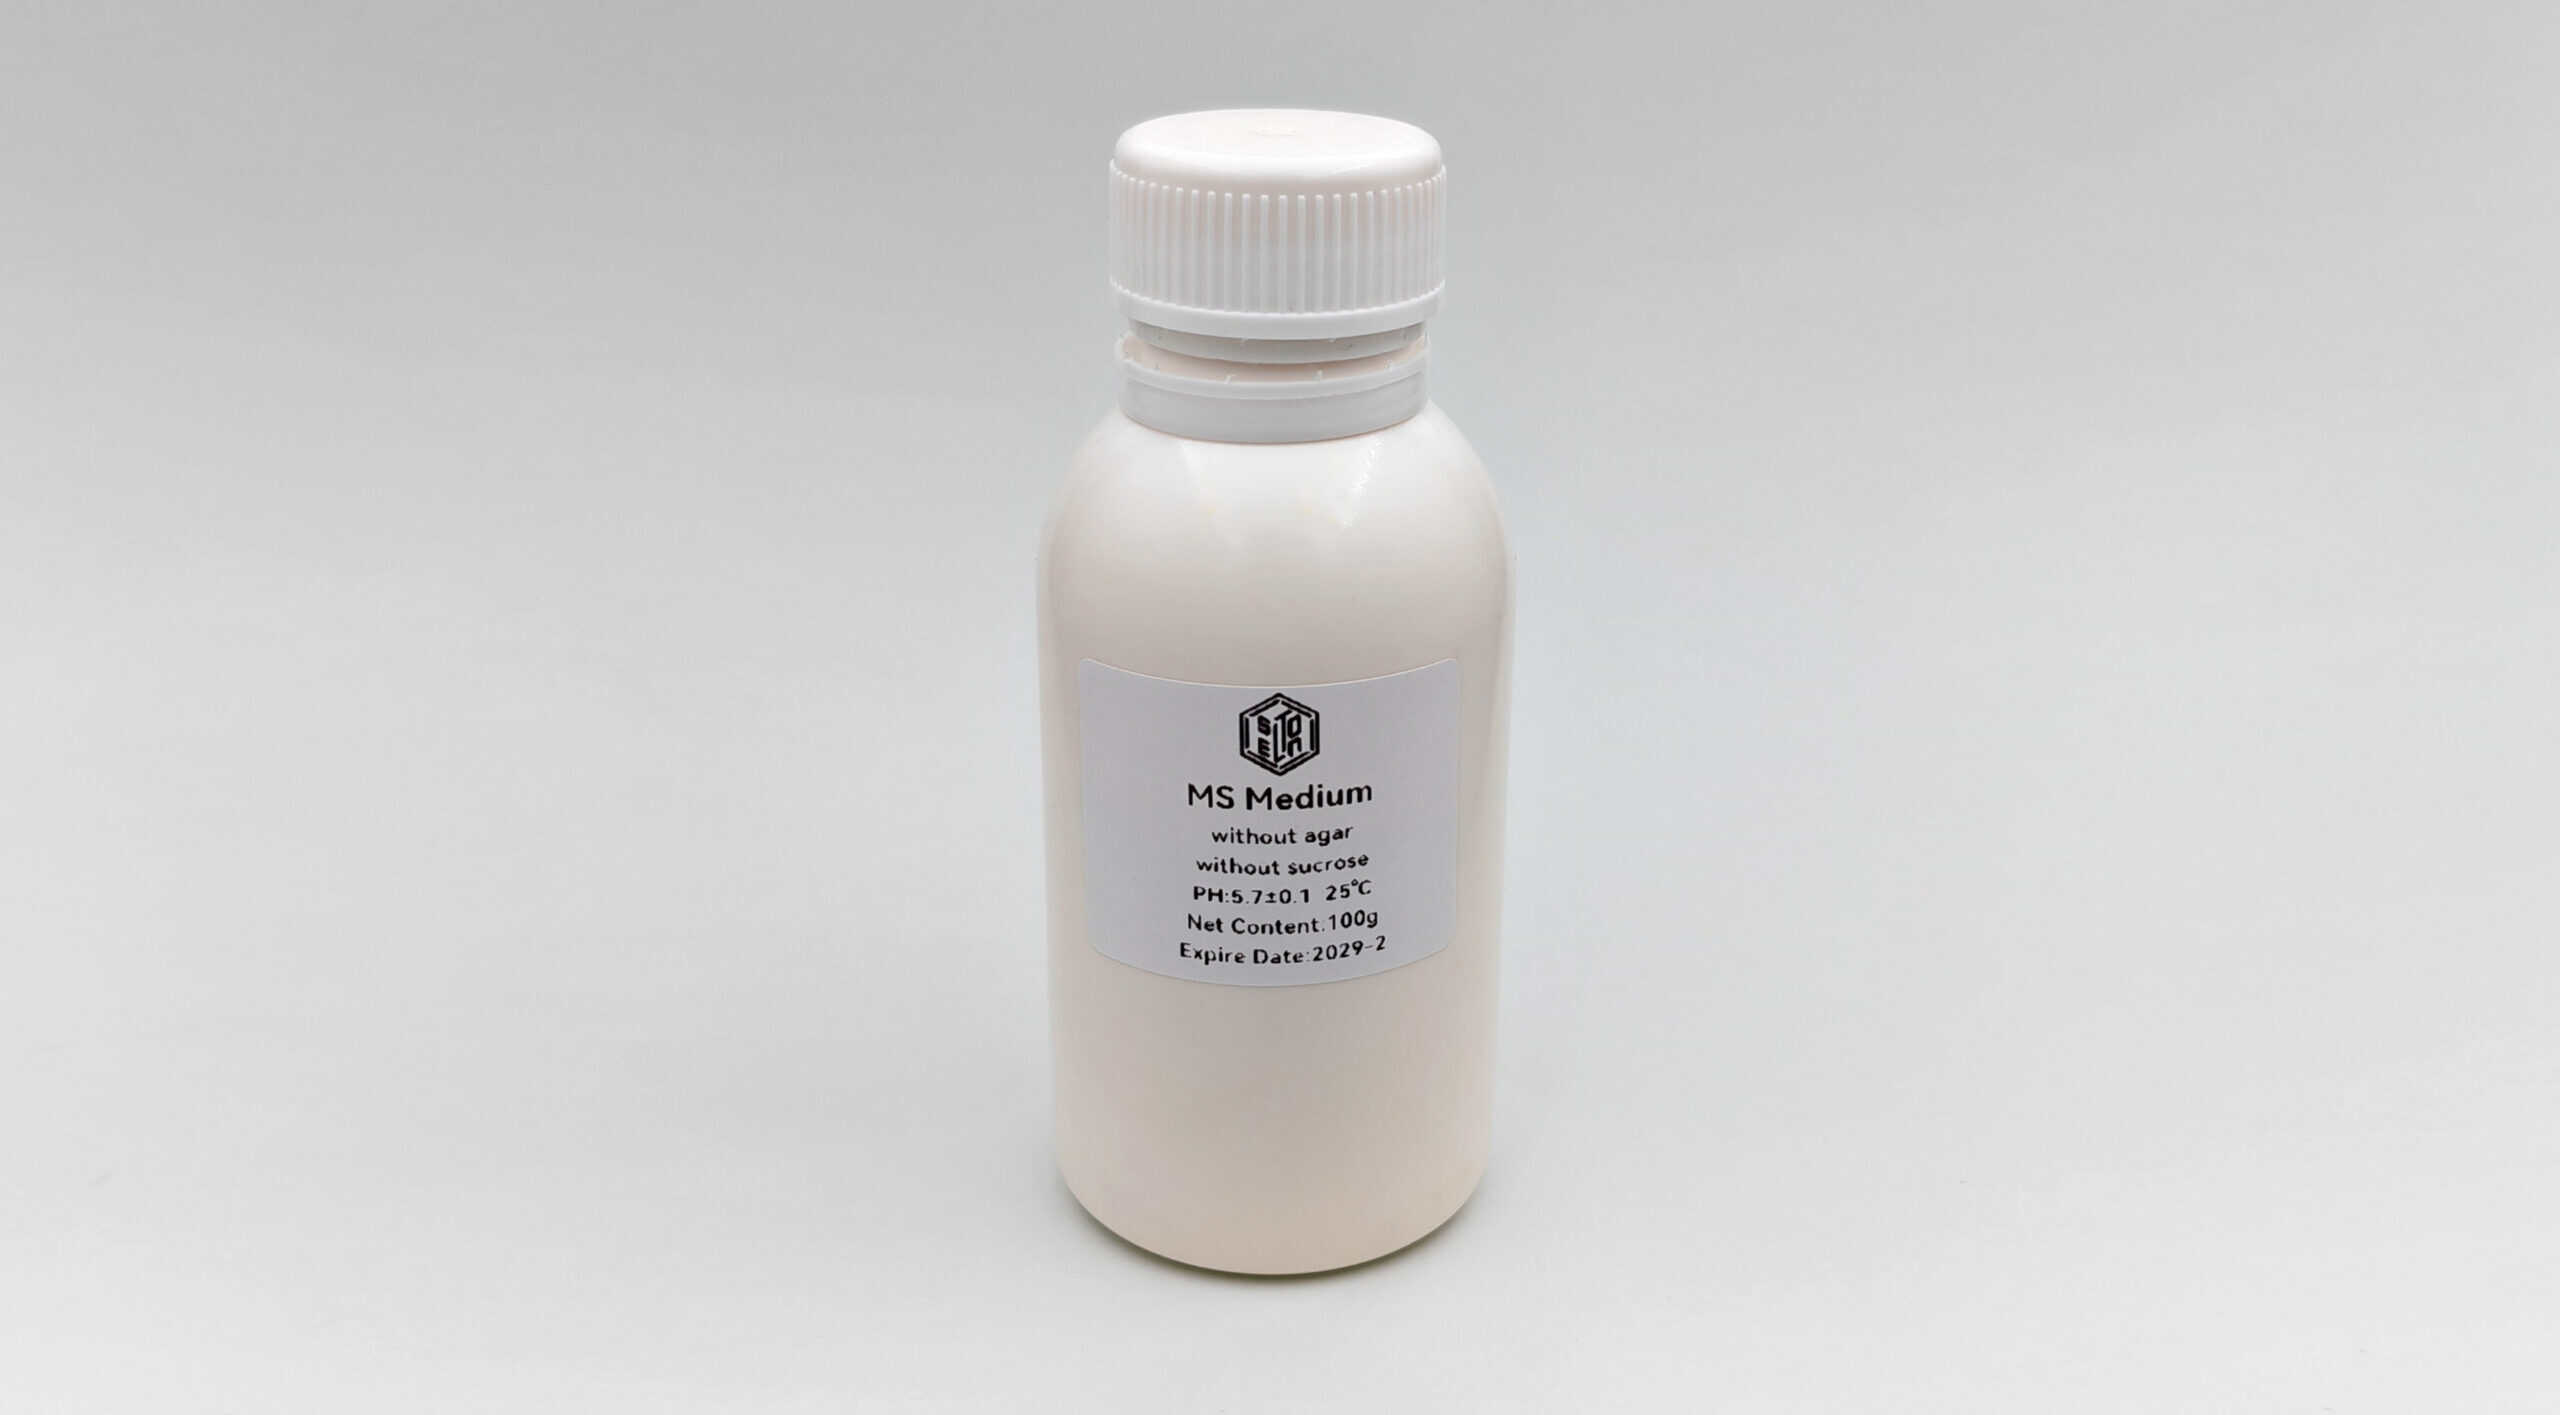
- Murashige & Skoog (MS) Medium, powder for preparing growing medium for orchid seed sowing
2.3. Culture Medium
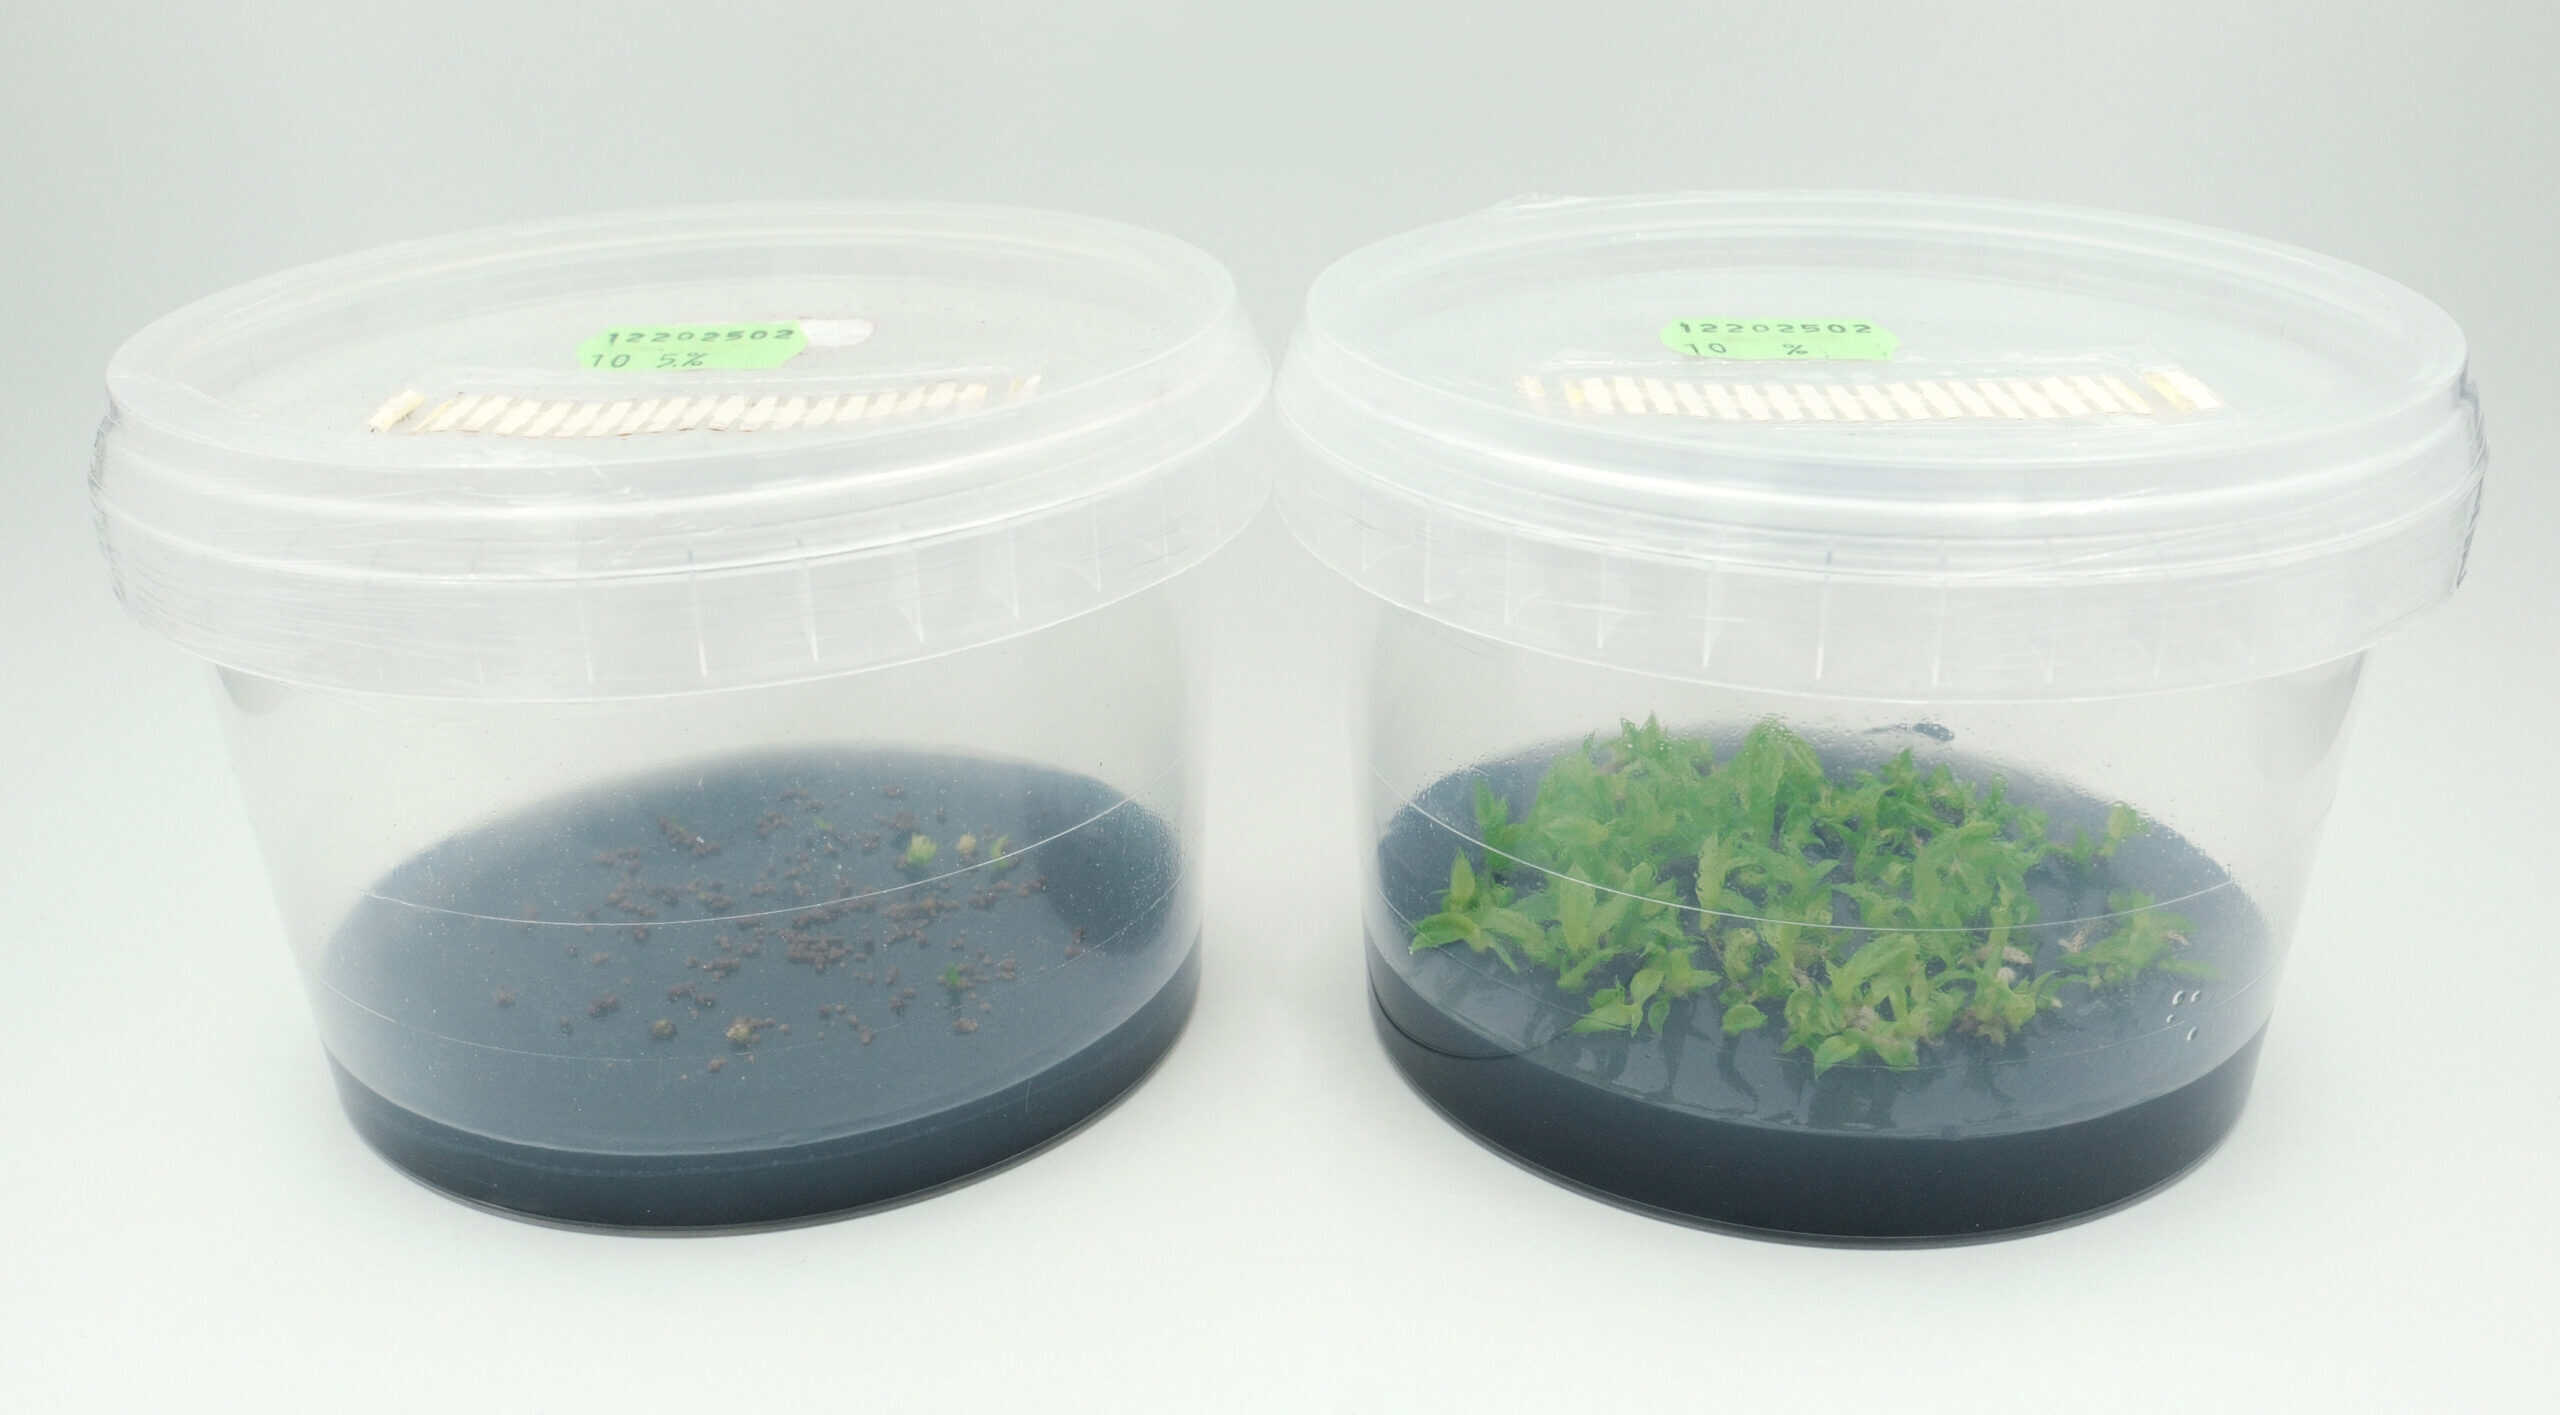
After countless experiments with various culture media and organic additives, it has become clear that coconut water is an essential component for the successful growth of Mexipedium xerophyticum. Since we began breeding Mexipedium, we have varied the coconut water concentration and have concluded that optimal growth is achieved at 10%. This concentration has proven effective for both sowing and replating. We have also conducted experiments with concentrations of up to 30% by volume of the medium. However, after an initially good germination rate, the protocorms soon die off.
In general, it is easy to get Mexipedium xerophyticum to germinate. However, further growth is difficult and can only be achieved on perfectly formulated culture media.
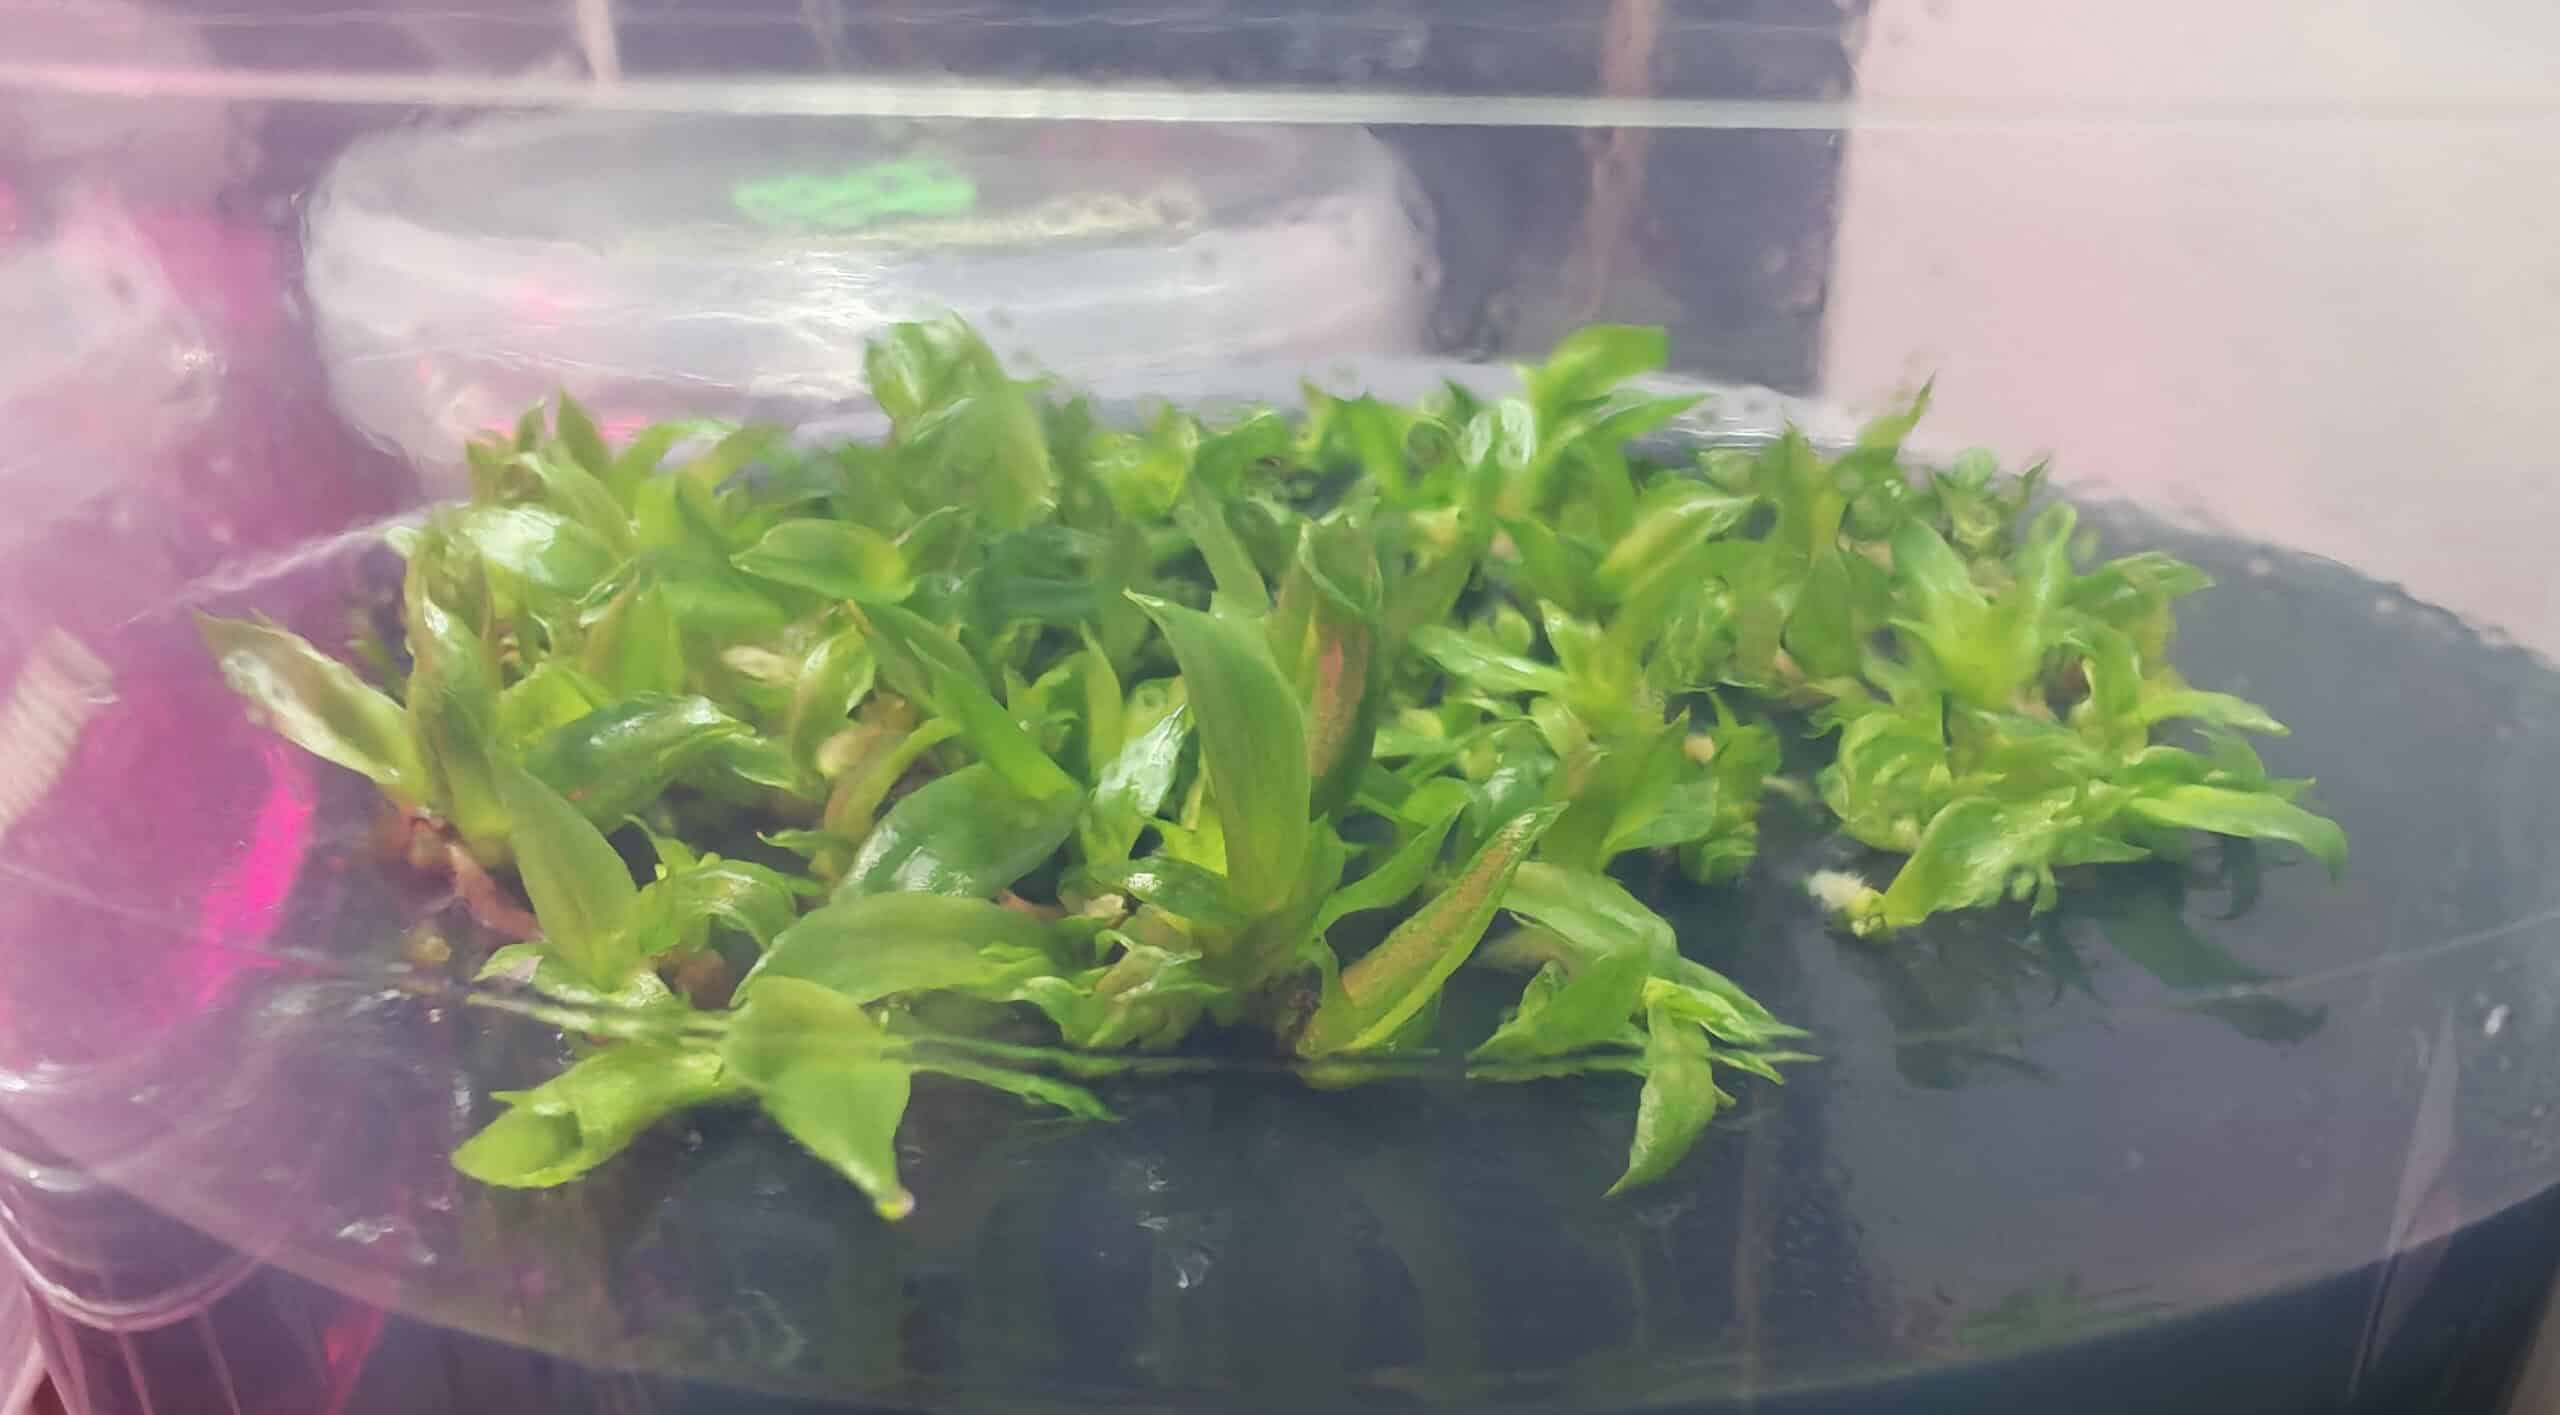
In addition to coconut water, we also conducted experiments with pineapple juice and homogenized banana (see photo below). We also varied the sugar concentration. It turned out that all organic additives (with the exception of coconut water) had a negative effect on the growth of the young plants, regardless of their concentration. They had no effect on germination itself though.
For Mexipedium xerophyticum, we have found the following growing medium to be effective:
| Composition of 1000 ml of sowing medium | Quantity |
|---|---|
|
Agar-Agar |
7g |
|
MS Medium (1/2 concentration) |
2.3g |
|
Coconut water |
100ml |
|
Sucrose |
12g |
|
Activated charcoal |
2g |
|
Distilled water |
900ml |
|
HCl / NaOH |
pH: 5.8 – 6.0 |
3. Preparation of the culture medium
The growth medium serves as the seedlings' sole source of nutrients. We will prepare the culture containers as follows:
- Dissolve the agar in a beaker with some of the available distilled water. It will dissolve more easily in the hot media if it has already been dissolved in cold liquid beforehand.
- Pour the remaining liquids into the pot and bring to a boil.
- Add MS Medium.
- Add agar-agar.
- Adjust the pH: Target: pH 5.8–6.0. (HCl lowers the pH; NaOH raises it.) Keep in mind that coconut water and pineapple juice naturally contain a lot of acid, which is why adjusting the pH is very important.
- Pour the hot medium into sterilizable containers (glass, polypropylene, or similar).
- Loosely seal the container, then sterilize it in an autoclave or pressure cooker at 121 °C for 20–25 minutes.
- After sterilizing, seal immediately and let cool.
- Seal the gap between the lid and the container with plastic wrap (e.g., cling film).
4. Preparing the seed pod
Verwende nur reife, aber unbeschädigte Samenkapseln. Der beste Zeitpunkt ist kurz bevor die Kapsel natürlich aufspringt. Bei Mexipedium xerophyticum sind die Kapseln nach ca. 6 Monaten reif. Die restliche Zeit benötigen sie lediglich, um zu trocknen und aufzuplatzen. Wenn immer möglich ist die Aussaat von Samen aus der grünen Kapsel derjenigen aus der aufgeplatzten Kapsel vorzuziehen. Das Vorgehen zur Sterilisation der Samenkapsel ist wie folgt:- Kapsel in Bleichelösung (10 % mit 1 Tropfen Spülmittel) 15 Minuten einlegen und regelmässig schütteln.
- Kapsel gründlich mit sterilem, destilliertem Wasser abspülen.
- Unter sterilen Bedingungen aufschneiden und die Samen direkt entnehmen.
5. Vorbereitung der sterilen Werkbank
Die größte Gefahr bei der In-vitro-Aussaat sind Schimmelpilze und Bakterien. Um steril arbeiten zu können, kommt man früher oder später nicht um die Verwendung einer Sterilen Werkbank herum. Dieses Laborgerät wurde speziell für diese Art von Arbeiten konzipiert. Wir verwenden für unsere Arbeiten eine Sterile Werkbank, die zusätzlich mit UV-Licht ausgestattet ist. Die Vorbereitungsarbeit läuft wie folgt ab:- UV-Lampe einschalten (typischerweise 15–30 Minuten, gemäss Herstellerangaben). Währenddessen keine Arbeiten durchführen.
- UV ausschalten, Werkbank öffnen.
- Luftstrom aktivieren.
- 10 Minuten vorlaufen lassen, damit Partikel aus dem Arbeitsbereich gespült werden.
- Arbeitsfläche, Seitenwände und Scheibe mit 70 % Ethanol oder Isopropanol abwischen. Von oben nach unten und von hinten nach vorne wischen. Saubere, fusselfreie Tücher verwenden.
- Materialien einbringen. Nur notwendige, saubere/sterile Materialien in die Werkbank stellen. Die Oberflächen sämtlicher Materialien sind vor dem Einbringen zu desinfizieren. Dafür wird in der Regel ebenfalls Ethanol bzw. Isopropanol verwendet.
- Nach 20 Minuten ist die Sterile Werkbank vorbereitet und es kann mit der Arbeit begonnen werden.
6. Seeding onto the culture medium
Once the seeds and jars are sterile, you can begin sowing:
- Wipe the glass surface with ethanol or isopropanol.
- From now on, all instruments will be heated (using a ball sterilizer or infrared sterilizer) before coming into contact with the organic material.
- Use tweezers to place the seed capsule on a glass slide, then cut it open with a scalpel.
- Open the seed tray and set the lid aside with the opening facing up.
- Spread the seeds thinly and evenly over the surface of the agar.
- Close the lid immediately.
Important: Seeds must not be pressed into the growing medium; they should simply rest on top of it.
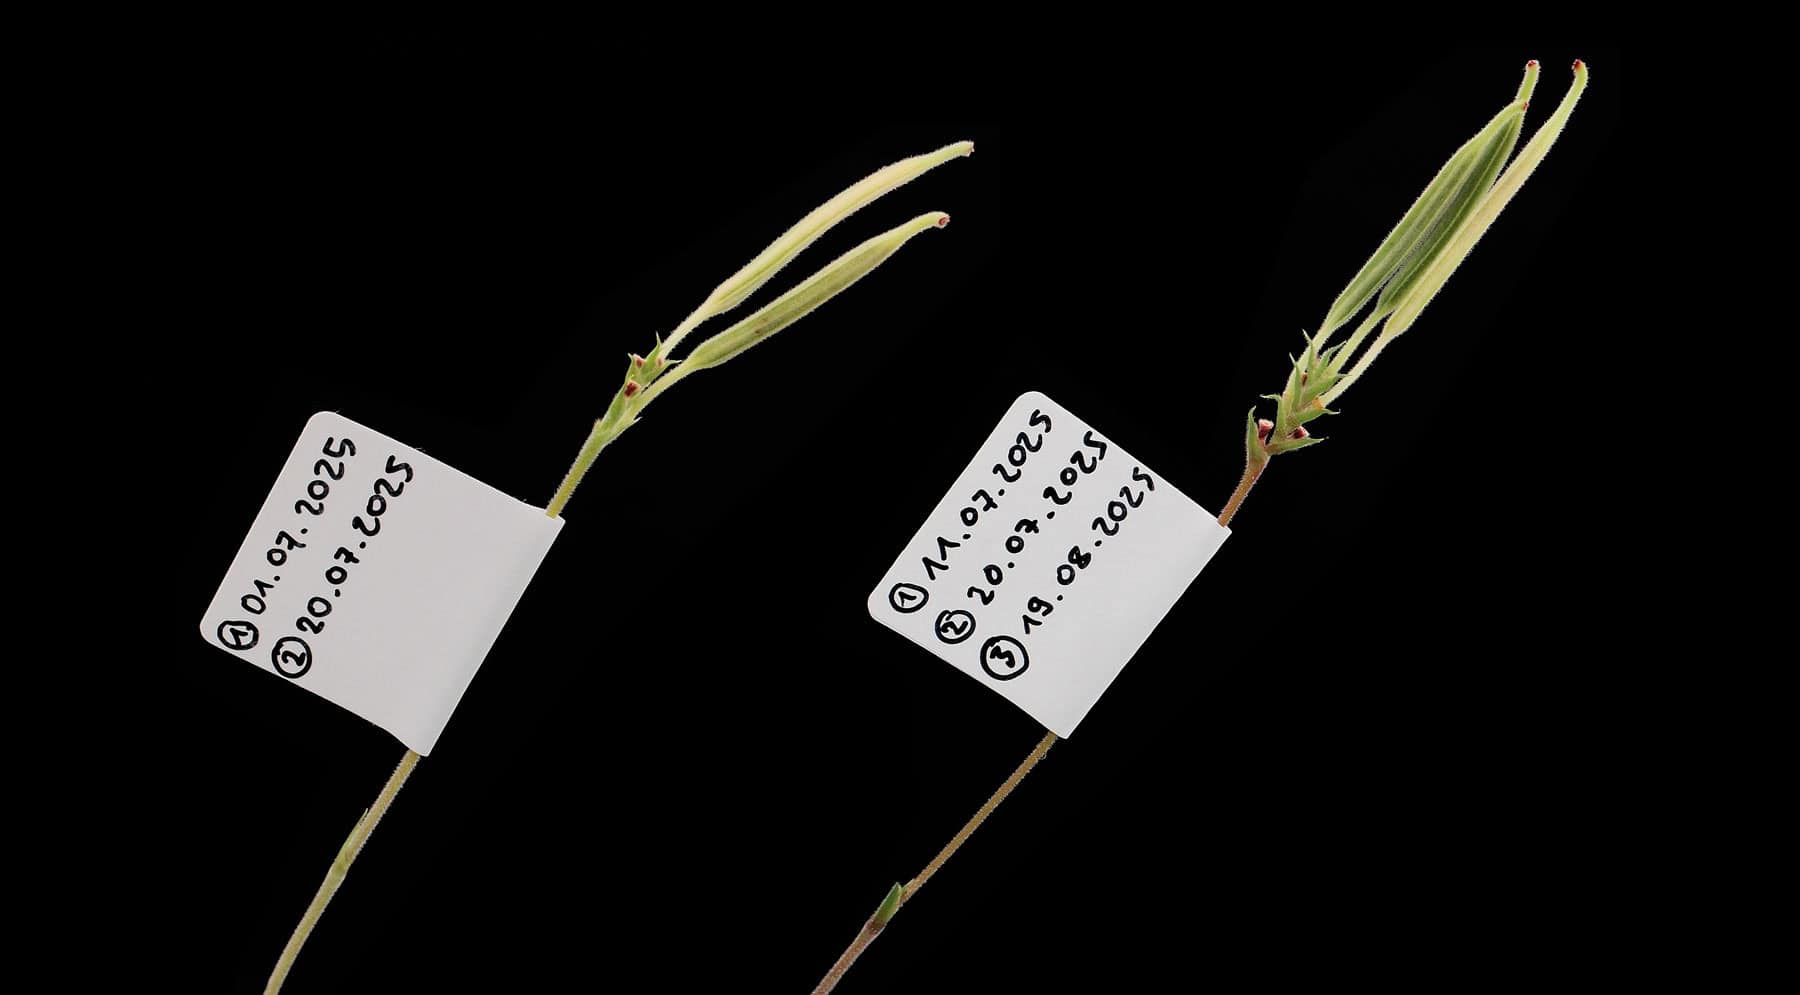
6.1. Nach der Aussaat
Sind sämtliche Aussaaten erledigt, werden die Gefässe noch in der Werkbank mit Kunststoffolie abgedichtet und ggf. beschriftet, falls dies nicht schon geschehen ist. Dabei ist nicht nur die Information zur Kreuzung, sondern auch das Aussaatdatum von grosser Wichtigkeit. Die Gläser werden an einem warmen Ort bei 22–24 °C aufgestellt. Die Temperatur sollte dabei so wenig schwanken wie möglich. Wir haben die Erfahrung gemacht, dass die Protokorme bei Mexipedium xerophyticum grösser werden, wenn die Keimung im Dunkeln erfolgt. Der Unterschied zu im Licht gekeimten Sämlingen ist aber fast vernachlässigbar, weshalb wir sie normalerweise von Anfang an zu den anderen Aussaatgefässen stellen. Besonders wichtig ist an der Stelle zu erwähnen, dass die Protokorme und Jungpflanzen sehr anfällig für zu hohe Temperaturen sind. Es ist deshalb essenziell, dass das Thermometer möglichst zu keiner Zeit über 28 °C ansteigt. Spezialisierte Orchideenlabore haben in der Vergangenheit schon ihre gesamten Aussaatgefässe mit Mexipedium xerophyticum aufgrund von zu hohen Temperaturen verloren!7. Germination and Care of the Protocorms
The first seedlings appear after about 2 weeks.
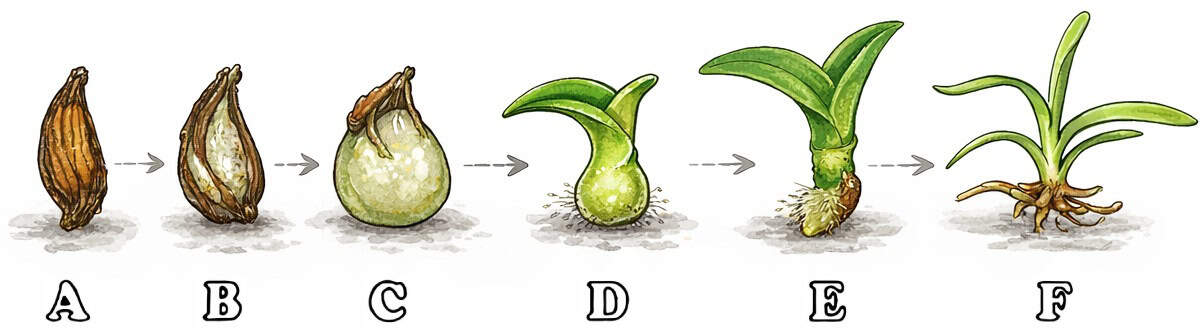
7.1. Development Phases
- Swelling phase: The embryo absorbs moisture. (Starting on Day 1)
- Rupture of the testa: The embryo swells so much that it ruptures the testa (seed coat). (Approx. 5–10 days after sowing)
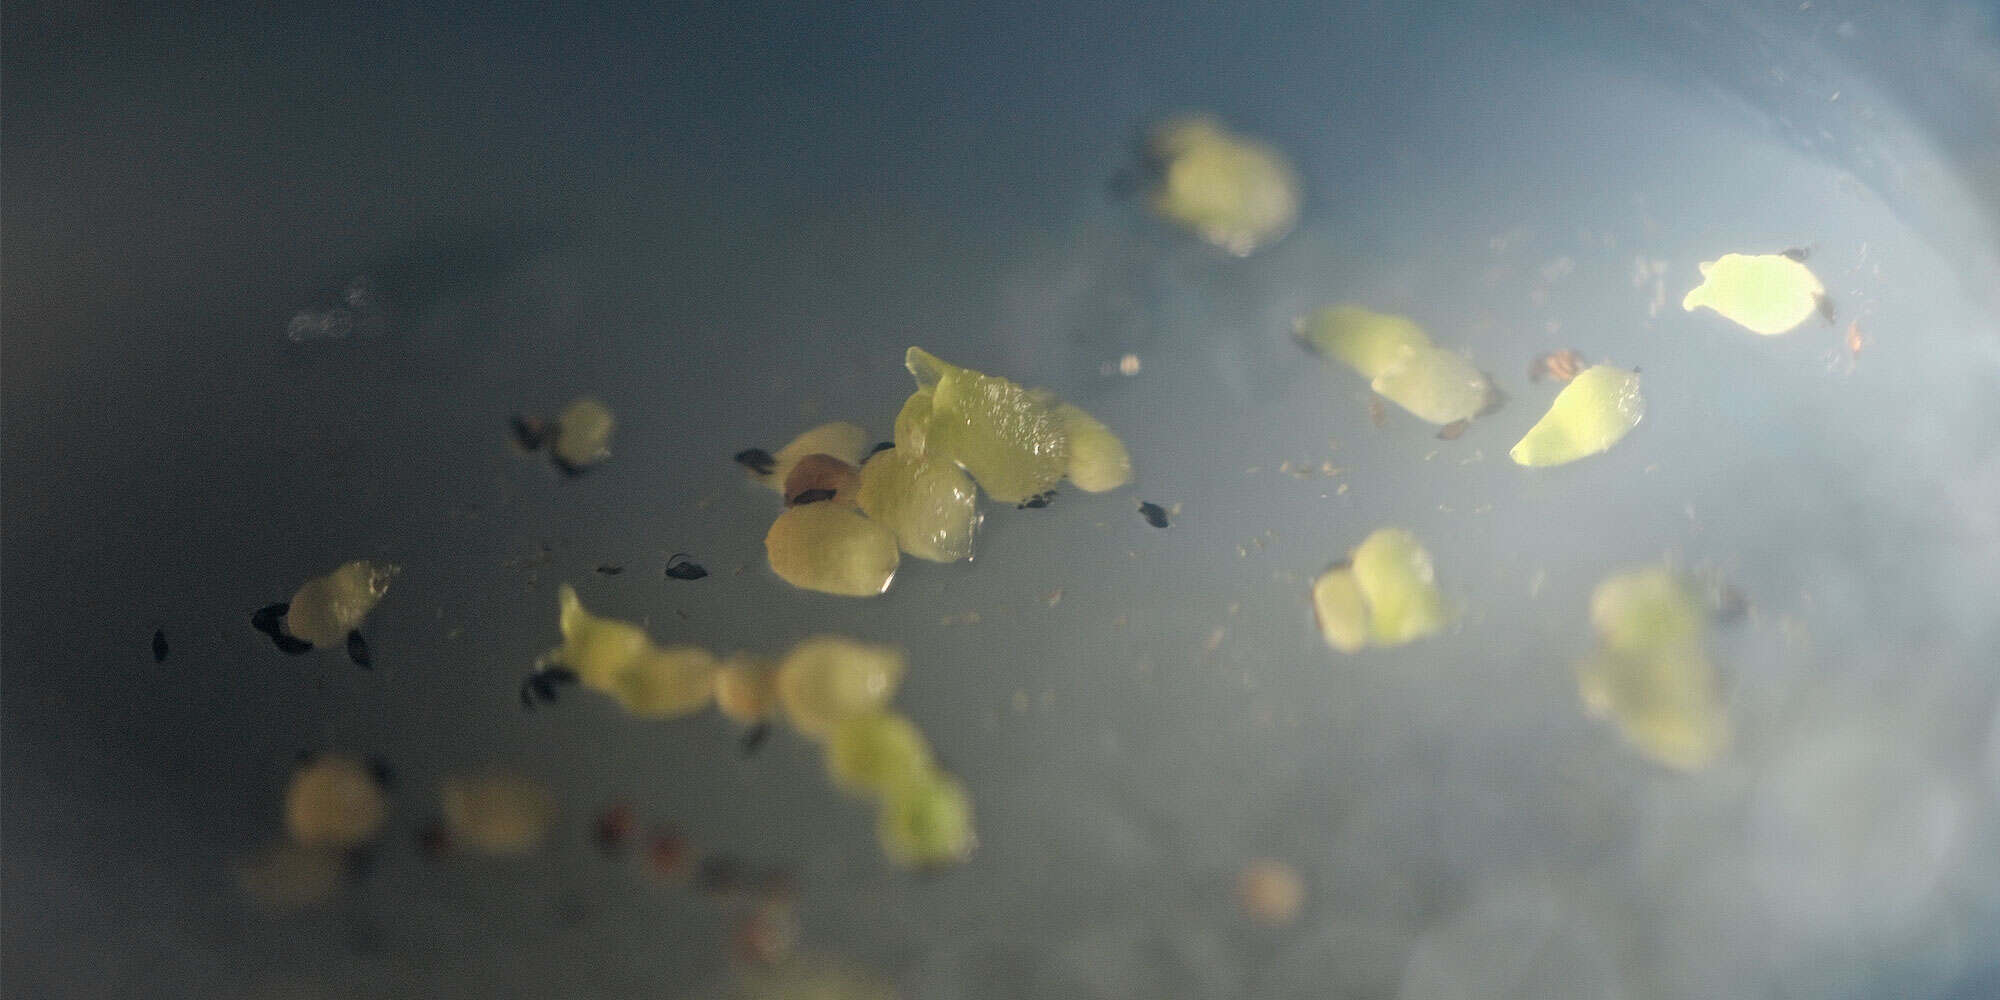
- Protocorm formation: The embryo develops into an undifferentiated ball of cells, known as the protocorm. (Approx. 10–15 days after sowing)
- Differentiation phase: The seedling develops leaf primordia and absorbs nutrients and water with the help of rhizoids (the precursors to roots). (Approx. 2 months after sowing)
- Root formation: The first root tips appear and anchor the seedling in the growing medium. (Approx. 5 months after sowing)
- Growth phase: The young plant continues to develop, and new roots and leaves are constantly forming. (Ready for transplanting after about 2 years)
7.2. Growth Conditions for Protocorms
Wie schon oben beschrieben können die Kulturgefässe von Anfang an ans Licht gestellt werden, weil kaum Unterschiede zu im Dunkeln gekeimten Sämlingen zu erkennen sind. Falls man sich dennoch für die Dunkelkeimung entscheidet, werden die Gefässe ans Licht gestellt, nachdem sich die Samen mehrheitlich in Protokorme verwandelt haben. Dies geschieht nach ungefähr 6 Wochen. Schnell setzt die Chlorophyllbildung ein und die Protokorme werden innert Wochenfrist grün.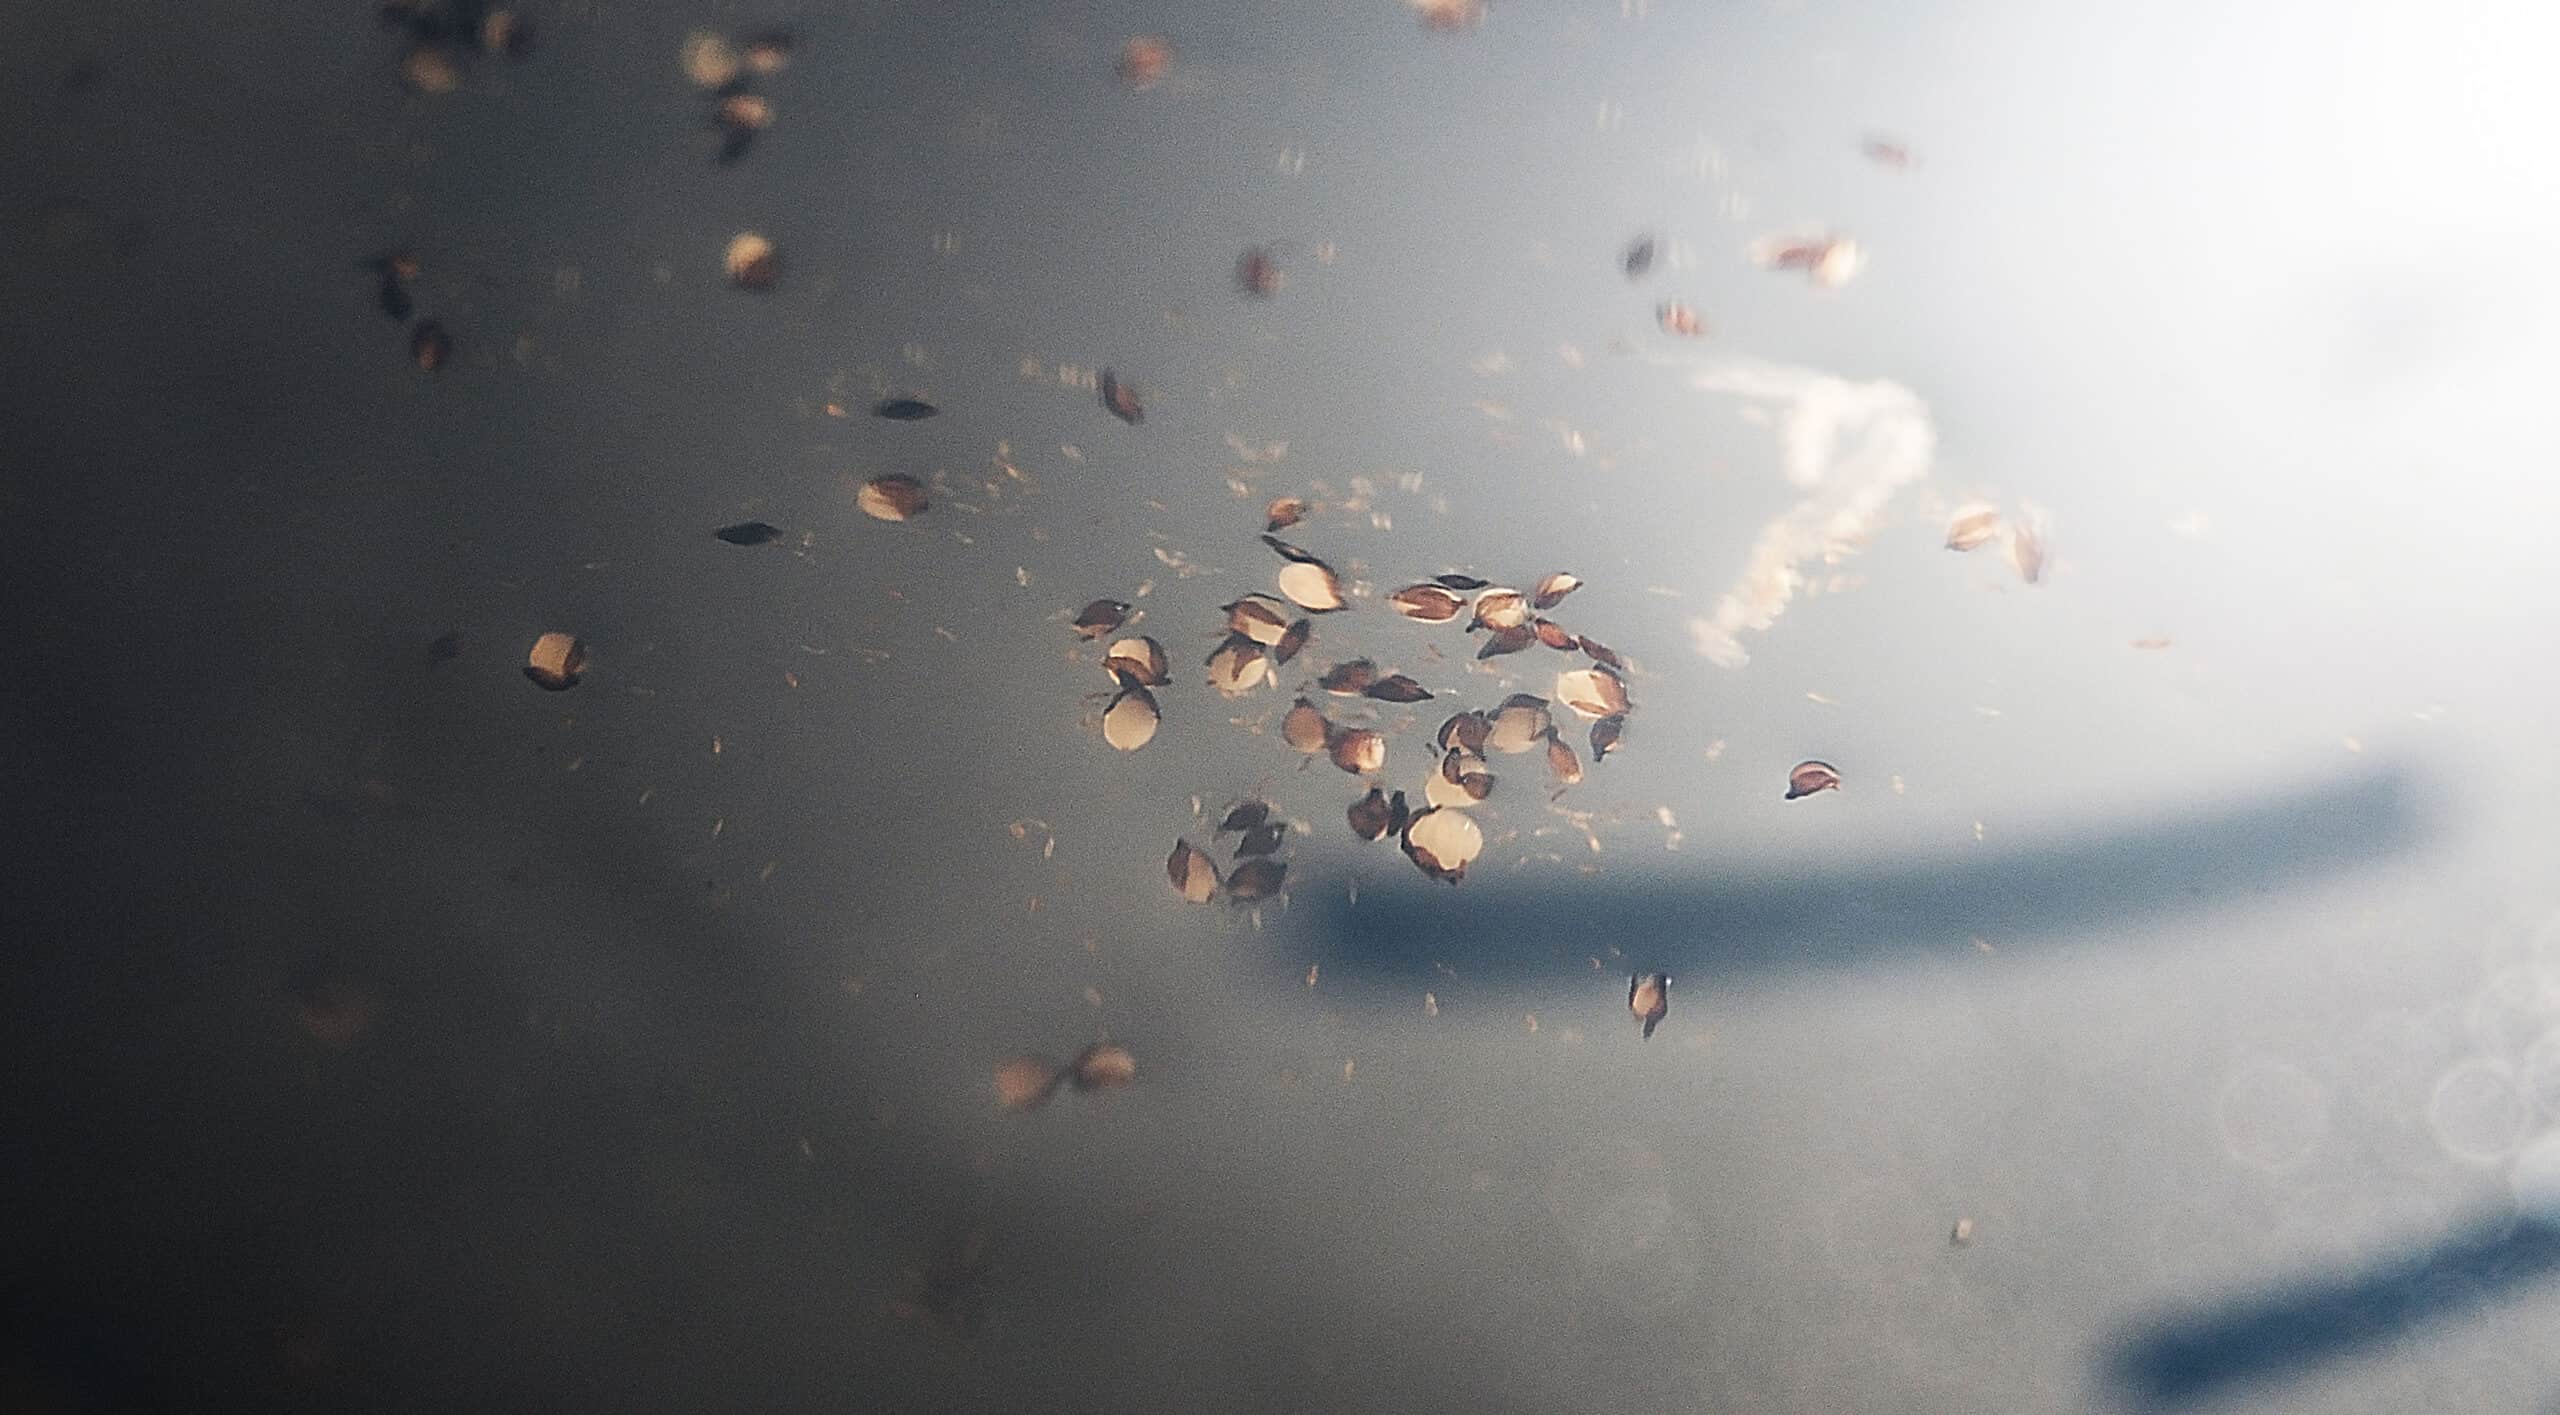
7.3. When to replate?
After about 4–5 months, the seedlings are replated for the first time. By this point, the seedlings will have already begun to form their first leaves. Replating them into a new growing medium has the advantage of allowing for greater spacing between the seedlings, which improves their access to nutrients and light.
8. Replating onto fresh medium
In our experience, when transplanting Mexipedium xerophyticum, it is best to use the same growing medium as was used for sowing. Unlike with other lady’s slipper species, homogenized banana had a negative effect on the development of the young plants at all concentrations. Other organic additives, such as pineapple juice, also had no positive effect on the development of the young plants or even inhibited it.
| Composition of 1000 ml of sowing medium | Quantity |
|---|---|
|
Agar-Agar |
7g |
|
MS Medium (1/2 concentration) |
2.3g |
|
Coconut water |
100ml |
|
Sucrose |
12g |
|
Activated charcoal |
2g |
|
Distilled water |
900ml |
|
HCl / NaOH |
pH: 5.8 – 6.0 |
8.1. The Replating Process
- Work under sterile conditions again.
- Carefully remove the young plants from the jar using a sterile spatula or, later on, a pair of long tweezers. We use Dennerle XL Plant Tweezers for this because they have a high-quality metal finish and provide a comfortable amount of resistance when squeezing.
- Place it in fresh growing medium, leaving enough space around it. If there are roots, try to bring them into contact with the growing medium as much as possible.
- Close the jar again, seal it with plastic wrap, and continue growing.
9. Potting the Plants
After about two years, the plants are big enough to be removed from their growing containers and planted in a community pot.
9.1. Preparing the Culture Containers
The choice of plastic containers is a matter of personal preference. What's much more important is the potting mix:
Fine pine bark + perlite + a little Sphagnum.
Tip: A thin layer of Sphagnum should be spread over the soil surface to keep the base of the young plants moist.
9.2. Step-by-Step Procedure
- Remove the plants from the jar and thoroughly rinse off any remaining agar under running water. Take care not to damage the roots. It is always better to leave a little medium on the roots than to try to clean the plants too thoroughly.
- Put it in the community pot.
- Apply a thin layer of Sphagnum to the surface of the substrate after transplanting all the seedlings.
- Maintain high humidity levels during the first few weeks. Air circulation is extremely important during this time to prevent disease.
- Once the plants are sufficiently established, they can tolerate lower humidity.
10. Common Problems and Solutions
10.1. Mold in the jar
Cause: Insufficient sterility.
Solution: Discard the glass; conduct a root cause analysis.
10.2. A cloudy film on the surface of the medium
Cause: Bacterial growth: Insufficient sterility.
Solution: Discard the glass; conduct a root cause analysis.
Alternative: Given the rarity of the species, you can try to save the young plants. This actually worked quite well in our own experiments. To do this, immerse the young plants in a disinfectant solution (10% household bleach with a drop of dish soap) for at least 30 minutes, shaking them regularly. Afterward, the plants can be transferred to a new medium (without rinsing them with sterile distilled water). This treatment is not particularly gentle on the plants, and some will die in the process, but a surprisingly large proportion survives this procedure. Because the disinfectant remains on the young plants, it provides long-lasting protection against all types of germs that may still be present on the contaminated plant parts.
10.3. No Germination
Lösung: Abwarten und Glas nach 1 Jahr entsorgen. Die Wahrscheinlichkeit, dass dann noch etwas keimt, geht gegen null.
Ursache Möglichkeit 2: pH-Wert fehlerhaft.
Lösung: pH-Wert genau feststellen, bevor weitergefahren wird.
Ursache Möglichkeit 3: Unpassende Wachstumsbedingungen.
Lösung: Wachstumsbedingungen genau überwachen. Die Temperatur ist besonders wichtig (Minimum-Maximum-Thermometer).
10.4. Wachstumsstillstand
Lösung: Umlegen notwendig.
Ursache: Unpassende Wachstumsbedingungen.
Lösung: Wachstumsbedingungen genau überwachen. Besonders kritisch sind bei Mexipedium xerophyticum zu hohe Temperaturen. Diese sollten 28 °C möglichst nie übersteigen, auch nicht kurzfristig!
10.5. Ausbleichen der Protokorme
Ursache 1: Falsches Medium.
Lösung: Oben beschriebenes Medium verwenden. Mexipedium xerophyticum ist sehr wählerisch, was das Medium und vor allem die organischen Zusätze angeht. Die Samen zum Keimen zu bringen ist zwar in der Regel sehr einfach, sie danach aber zum Wachsen zu bringen, stellt eine Herausforderung dar.
Ursache 2: Falsche Temperatur.
Lösung: Die Keimlinge im Glas sind verhältnismässig empfindlich auf zu hohe Temperaturen. Temperaturspitzen über 30 °C quittiert Mexipedium xerophyticum mit dem Absterben einzelner Protokorme, bis hin zum Totalverlust.